To add custom attachments to WooCommerce emails, use the woocommerce_email_attachments filter hook in PHP. Add your file path to the attachments array, targeting specific email types by checking the $email_id parameter. For a no-code solution, install the WooCommerce Email Attachments plugin or ShopMagic and configure attachments from the WordPress admin.
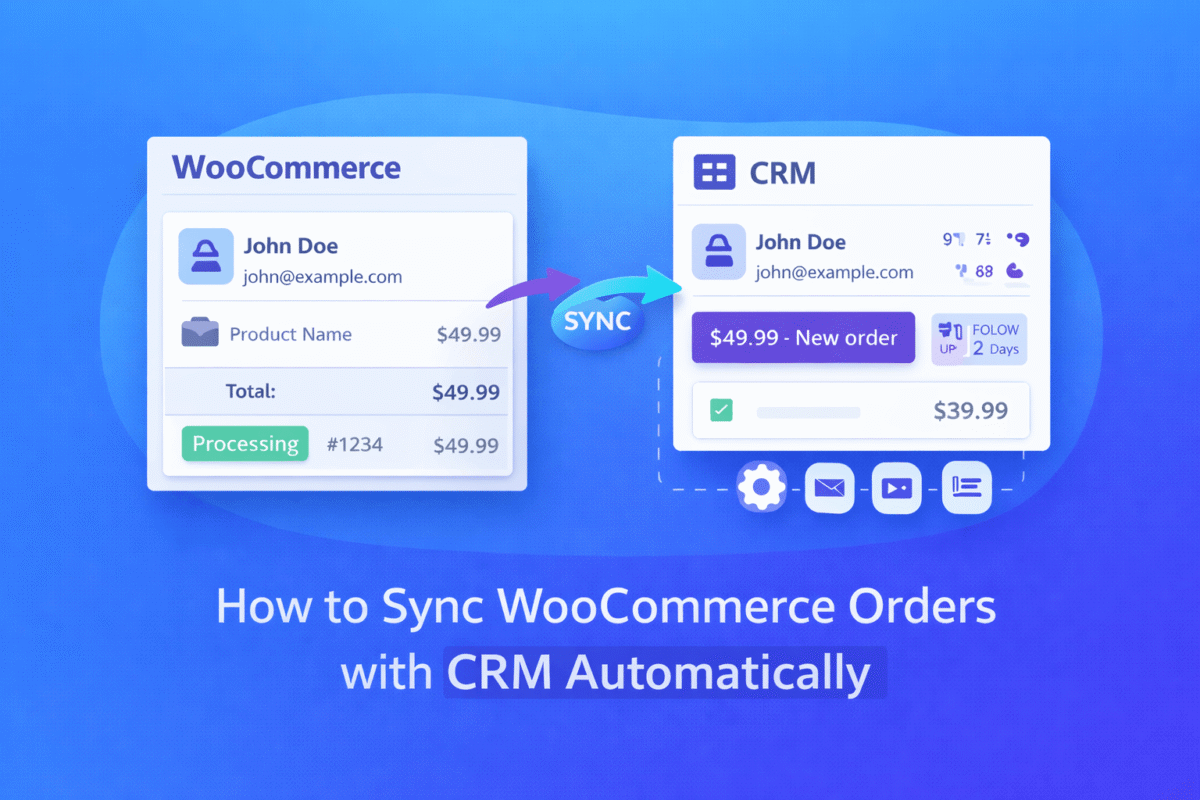
Why WooCommerce Email Attachments Matter
WooCommerce sends automated emails for almost every order event — new order, processing, completed, refunded. But by default, it cannot attach a single file to any of them. No PDF invoice. No terms and conditions. No product manual. No digital license key file.
For most professional stores, this is a problem. Customers expect an invoice with their order confirmation. Regulatory compliance in many markets requires terms and conditions documentation. Physical product sellers want to attach assembly instructions or warranty PDFs. And digital product stores often need to attach license files or download guides.
The good news: WooCommerce provides a dedicated filter hook — woocommerce_email_attachments — that makes this straightforward for developers. And for store owners who prefer not to write PHP, several excellent plugins handle it with a few clicks. This guide covers both routes completely.
What You Can Attach to WooCommerce Emails
PDF files (invoices, receipts, manuals, warranties, terms and conditions), images (JPG, PNG), ZIP archives, DOC/DOCX documents, spreadsheets (XLS/XLSX), and plain text files. File type support depends on your server’s PHP mail configuration and your customer’s email client.
Method 1 — PHP Hook: woocommerce_email_attachments (Recommended for Developers)
Difficulty: Developer (requires PHP knowledge) | Setup time: 5–10 minutes
Best for: Custom logic, per-order-status targeting, dynamic attachments based on order data
File location: Add code to your child theme’s functions.php or a custom plugin
The woocommerce_email_attachments filter is the most flexible approach. It gives you complete control — attach different files to different email types, check order data before attaching, or apply conditional logic based on the product purchased or the customer’s location.
Step 1 — Upload Your File to WordPress Media
Before writing any code, upload the file you want to attach using WordPress Media > Add New. Once uploaded, click the file in the Media Library and copy the File URL. You need the server file path (not the URL) for the hook — convert it using the wp_upload_dir() function or the ABSPATH-based path structure.
Step 2 — Get the Server File Path
| // Get the uploads directory path$upload_dir = wp_upload_dir();// Example: ‘/var/www/html/wp-content/uploads/2026/04/invoice.pdf’// Build your path like this:$file_path = $upload_dir[‘basedir’] . ‘/your-folder/your-file.pdf’; |
Step 3 — Add the woocommerce_email_attachments Filter
Add this code to your child theme’s functions.php or a custom plugin file. Never modify the parent theme directly.
| /** * Add custom file attachment to specific WooCommerce emails. * Hook: woocommerce_email_attachments * @param array $attachments Existing attachments. * @param string $email_id WooCommerce email ID. * @param WC_Order $order The order object. * @return array */add_filter( ‘woocommerce_email_attachments’, ‘wcc_add_custom_email_attachment’, 10, 3 ); function wcc_add_custom_email_attachment( $attachments, $email_id, $order ) { // Target specific email types — see Email ID reference table below $target_emails = array( ‘customer_processing_order’, ‘customer_completed_order’, ); if ( ! in_array( $email_id, $target_emails, true ) ) { return $attachments; // Return unchanged for non-targeted emails } // Build the file path using WordPress uploads directory $upload_dir = wp_upload_dir(); $file_path = $upload_dir[‘basedir’] . ‘/wc-attachments/terms.pdf’; // Only attach if the file actually exists on the server if ( file_exists( $file_path ) ) { $attachments[] = $file_path; } return $attachments;} |
Security Note: Validate Before Attaching
Always verify that the file exists with file_exists() before adding it to the attachments array. Never build file paths from user-supplied input without sanitization. Use wp_upload_dir() to generate trusted base paths rather than hardcoding server paths, which can break on server migrations.
WooCommerce Email ID Reference Table
The $email_id parameter in the filter tells you which email type is being sent. Use this table to target the right email type:
| Email ID (string) | When It Fires |
| new_order | Admin notification: new order received |
| customer_processing_order | Customer: order is processing (payment received) |
| customer_completed_order | Customer: order marked as complete |
| customer_on_hold_order | Customer: order placed on hold |
| customer_invoice | Customer: manual invoice / order details email |
| customer_refunded_order | Customer: full or partial refund issued |
| customer_note | Customer: private note added by admin |
| failed_order | Admin notification: payment failed |
| cancelled_order | Admin notification: order cancelled |
| customer_new_account | Customer: new account created |
| customer_reset_password | Customer: password reset link |
Method 2 — Conditional Attachment by Product (Advanced PHP)
This is the most powerful code-based approach: attach different files depending on which product was purchased. Perfect for digital product stores, software license delivery, or product-specific manuals.
| add_filter( ‘woocommerce_email_attachments’, ‘wcc_per_product_attachment’, 10, 3 ); function wcc_per_product_attachment( $attachments, $email_id, $order ) { // Only attach on order completion email if ( ‘customer_completed_order’ !== $email_id ) { return $attachments; } // Map product IDs to their attachment file paths $product_attachments = array( 42 => ‘/wp-content/uploads/manuals/product-42-guide.pdf’, 107 => ‘/wp-content/uploads/manuals/product-107-license.pdf’, ); foreach ( $order->get_items() as $item ) { $product_id = $item->get_product_id(); if ( isset( $product_attachments[ $product_id ] ) ) { $file = ABSPATH . ltrim( $product_attachments[ $product_id ], ‘/’ ); if ( file_exists( $file ) ) { $attachments[] = $file; } } } return $attachments;} |
Method 3 — No-Code Plugin Solution (Recommended for Store Owners)
Difficulty: Beginner — no PHP required | Setup time: 2–5 minutes
Best for: Store owners without developer access, quick setup, UI-based management
Requirement: Active WooCommerce installation with plugin upload access
If you manage a WooCommerce store without regular developer access, a plugin is the fastest and most maintainable solution. Below are the three most reliable options as of 2026.
Plugin Option A — WooCommerce Email Attachments (PluginsForWP)
• Upload files directly from the WordPress admin dashboard
• Attach different files to different email types (new order, completed, etc.)
• Supports PDF, DOC, XLS, ZIP, images, and more
• No coding required — configure via settings page
• Premium plugin — single site licence from approximately $29/year
Plugin Option B — ShopMagic (Free on WordPress.org)
• Free plugin with 10,000+ active installations
• Attach PDFs to specific emails per product — not just globally
• Works as a marketing automation tool (follow-up emails, sequences) with attachment support
• Ideal for stores needing both email automation AND file attachment
• Free core plugin available at wordpress.org/plugins/shopmagic-for-woocommerce/
Plugin Option C — WebToffee WooCommerce PDF Invoices Plugin
• Auto-generates PDF invoices and packing slips from order data
• Attaches generated invoices automatically based on order status
• Supports credit notes, shipping labels, and delivery notes
• Configure attachment triggers: attach on ‘Processing’, ‘Completed’, or both
• Trusted by 100,000+ stores — free version available with paid extensions
Step-by-Step: Adding Email Attachments Without a Plugin
For developers who want the cleanest implementation without adding a plugin, follow this complete sequence:
1. Upload your attachment file via WordPress Media > Add New or via FTP to wp-content/uploads/wc-attachments/
2. Note the file’s absolute server path (not URL). Use wp_upload_dir()[‘basedir’] to get the uploads root.
3. Open your child theme’s functions.php file (or create a simple custom plugin — see below for why plugins are preferred)
4. Add the woocommerce_email_attachments filter code from Method 1 above, replacing the file path with your actual file
5. Specify which email types should receive the attachment in the $target_emails array
6. Save the file and place a test order — verify the attachment arrives with the correct email type
7. Check your server error log if the attachment does not appear — file path errors are the most common cause
functions.php vs Custom Plugin
Adding code to functions.php works but ties your customisation to your theme. If you change themes, the attachment stops working. For production stores, wrap your attachment code in a simple mu-plugin (wp-content/mu-plugins/wc-email-attach.php) — it loads automatically, is theme-independent, and cannot be accidentally deactivated.
Common Mistakes to Avoid
| Mistake | Why It Fails & What to Do Instead |
| Using the file URL instead of the file path | WooCommerce email Performance requires the absolute server file path (e.g., /var/www/html/wp-content/uploads/file.pdf), not the public URL (https://…). Use wp_upload_dir()[‘basedir’] to build the correct path. |
| Not checking file_exists() before attaching | If the file doesn’t exist on the server, PHP’s mail function silently skips it or throws a warning. Always wrap your attachment in if ( file_exists( $file_path ) ) before adding it to the array. |
| Uploading files to the parent theme | Parent theme files are overwritten on theme updates. Store attachment files in wp-content/uploads/ or a custom plugin directory. |
| Attaching to all email types indiscriminately | Attaching a PDF to every WooCommerce email — including admin notifications and password resets — bloats emails unnecessarily. Always filter by $email_id. |
| Ignoring file size limits | PHP mail and most SMTP services have attachment size limits (typically 10–25 MB). Large PDFs may fail silently. Compress files before attaching or link to them instead of attaching directly. |
| No nonce verification in admin upload forms | If building a custom admin file upload interface, always verify a nonce token before processing uploads to prevent CSRF attacks. |
Conclusion: Three Methods, One Outcome — Better Customer Communication
Adding file attachments to WooCommerce emails is one of those small improvements that has a disproportionate positive effect on the customer experience. An order confirmation email that arrives with a PDF invoice feels professional. A completion email with a product manual reduces support queries. A terms and conditions attachment provides legal documentation automatically.
If you are comfortable with PHP, the woocommerce_email_attachments filter gives you total control in under 20 lines of code. If you prefer a no-code approach, ShopMagic handles most use cases for free. And if automatic PDF invoicing is what you need, WebToffee’s plugin generates and attaches them with minimal configuration.
Frequently Asked Questions
Q1: How do I attach a PDF to WooCommerce order emails?
Use the woocommerce_email_attachments filter hook in PHP. Add your file’s absolute server path to the $attachments array and return it. Target specific email types using the $email_id parameter — for example, ‘customer_completed_order’ for the order completion email. Alternatively, install the ShopMagic or WooCommerce Email Attachments plugin to configure PDF attachments from the WordPress admin without writing code.
Q2: What is the woocommerce_email_attachments filter?
woocommerce_email_attachments is a WordPress filter hook that WooCommerce fires each time it sends a transactional email. It passes three parameters: an array of current attachments, the email ID string (e.g., ‘customer_processing_order’), and the WC_Order object. You use add_filter() to hook into it, modify the attachments array, and return it. The hook is documented in the WooCommerce source code and is the officially supported method for adding file attachments to WooCommerce emails.
Q3: Can I attach different files to different WooCommerce email types?
Yes. The $email_id parameter in the woocommerce_email_attachments filter tells you exactly which email type is being sent. Check this value using in_array() or a simple if statement to attach specific files only to the intended email types. You can attach a terms PDF to the ‘customer_processing_order’ email, a warranty PDF to ‘customer_completed_order’, and an admin invoice to ‘new_order’ — all in the same function.
Q4: Can I attach different files per product in WooCommerce?
Yes. Inside the woocommerce_email_attachments filter, you have access to the $order object. Loop through $order->get_items() to retrieve product IDs, then match them against a predefined array mapping product IDs to file paths. This allows each product to carry its own attachment — ideal for product manuals, digital licences, or download instruction PDFs that differ per SKU.
Q5: Why is my WooCommerce email attachment not being sent?
The most common cause is an incorrect file path. WooCommerce email attachments require the absolute server path, not the public URL. Verify the path using file_exists() in a temporary debug snippet. Other causes include: the file size exceeding your SMTP provider’s attachment limit, a permissions issue preventing PHP from reading the file, a caching plugin serving a cached email without the attachment hook firing, or the $email_id check not matching the email type being sent.
Q6: What is the best free plugin to add WooCommerce email attachments?
ShopMagic is the most feature-rich free option, with 10,000+ active installations and active maintenance as of 2026. It allows you to attach PDFs to specific emails per product and includes a broader marketing automation feature set. For pure attachment functionality with a simpler interface, the WooCommerce Email Attachments plugin by PluginsForWP offers a clean premium option. For automatic PDF invoice generation and attachment, WebToffee’s WooCommerce PDF Invoices plugin has a free tier covering the core use case.