

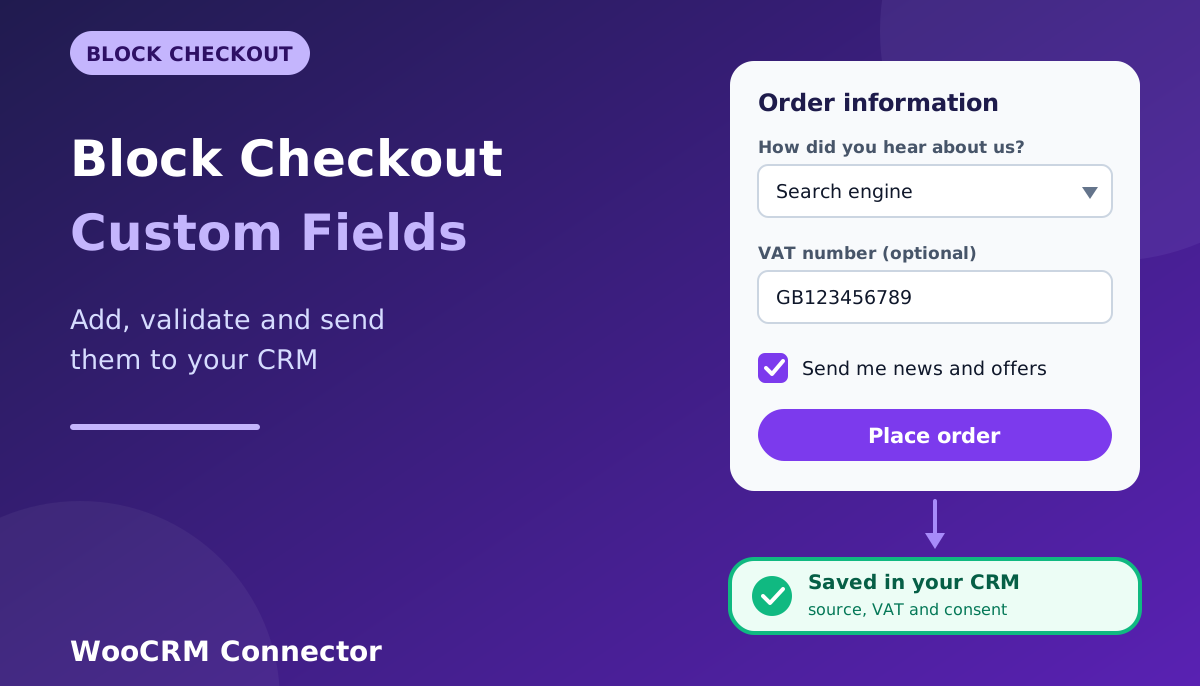
If you have ever added a custom field to the WooCommerce checkout with the woocommerce_checkout_fields filter, you may have noticed that it does nothing on a store that uses the Checkout block. The block-based checkout is built with a different technology, so the old filter does not reach it. WooCommerce provides a newer, official way to add fields to it, called the Additional Checkout Fields API.
This guide shows how to use that API to add three useful fields, how to sanitize and validate them, how to read the saved values, and how to send them to your CRM. The point of a checkout field is rarely the field itself. It is the information your sales and marketing team can do something with, such as “how did you hear about us?” or a VAT number.
The short version: register your fields on the woocommerce_init hook with woocommerce_register_additional_checkout_field(), read the saved values with the CheckoutFields service, and send them to your CRM from a background job once the order is paid.
Before you start
- WooCommerce 8.9 or newer. The additional checkout fields API became available in that version.
- The Checkout block must be in use. This API works with the block-based checkout. If your checkout page uses the older shortcode, the fields will not appear (see the note on classic checkout at the end).
- A place to put the code. Use a small custom plugin, a child theme, or a snippets plugin. Do not edit a parent theme.
- A staging site to test on first.
Where a field can appear
The official documentation lists three places where an additional field can be shown:
| Location value | Where it shows | Saved to |
|---|---|---|
contact | Contact information, near the email field | One value per order (and the customer account) |
address | Inside the shipping and billing address forms | Billing and shipping groups |
order | An “Order information” section | One value per order |
Contact and order fields are saved together under a group the API calls “other”. Address fields are saved in the billing and shipping groups, because an address field appears in both forms.
Step 1: Register the fields
Fields must be registered on the woocommerce_init action. Every field needs an id in the form namespace/field-name, a label, and a location. This example adds three fields a CRM team would use.
<?php
add_action( 'woocommerce_init', 'wcn_register_checkout_fields' );

function wcn_register_checkout_fields() {

    if ( ! function_exists( 'woocommerce_register_additional_checkout_field' ) ) {
        return; // WooCommerce is older than 8.9.
    }

    // 1. Lead source: a dropdown in the order information section.
    woocommerce_register_additional_checkout_field( array(
        'id'            => 'wcn/lead-source',
        'label'         => 'How did you hear about us?',
        'optionalLabel' => 'How did you hear about us? (optional)',
        'location'      => 'order',
        'type'          => 'select',
        'required'      => false,
        'options'       => array(
            array( 'value' => 'search', 'label' => 'Search engine' ),
            array( 'value' => 'social', 'label' => 'Social media' ),
            array( 'value' => 'friend', 'label' => 'A friend or colleague' ),
            array( 'value' => 'other',  'label' => 'Other' ),
        ),
    ) );

    // 2. VAT number: a text field in the address form, with sanitizing and validation.
    woocommerce_register_additional_checkout_field( array(
        'id'                => 'wcn/vat-number',
        'label'             => 'VAT number',
        'optionalLabel'     => 'VAT number (optional)',
        'location'          => 'address',
        'type'              => 'text',
        'required'          => false,
        'sanitize_callback' => function ( $value ) {
            return strtoupper( preg_replace( '/[^A-Za-z0-9]/', '', (string) $value ) );
        },
        'validate_callback' => function ( $value ) {
            // Example rule only. Real VAT formats differ by country.
            if ( '' !== $value && ! preg_match( '/^[A-Z0-9]{8,14}$/', $value ) ) {
                return new WP_Error( 'invalid_vat_number', 'Please enter a valid VAT number.' );
            }
            return true;
        },
    ) );

    // 3. Marketing consent: an unticked checkbox in the contact section.
    woocommerce_register_additional_checkout_field( array(
        'id'       => 'wcn/marketing-consent',
        'label'    => 'Send me news and offers by email',
        'location' => 'contact',
        'type'     => 'checkbox',
    ) );
}
A few details worth knowing
- The ID needs a namespace (the part before the slash). Use your own company or plugin name so it never clashes with another plugin.
- Address fields appear twice, once in billing and once in shipping, which is why they are stored in both groups.
- Required fields block the order until they are filled in. Only require what you truly need, because every required field lowers your conversion rate.
- The
optionalLabelis the label shown when the field is not required, so customers can tell it is optional. - The documentation lists more options, such as input attributes, and more field types. Check it for the exact options available in your WooCommerce version.
Step 2: Sanitize and validate
Anything a customer types is untrusted. The registration arguments accept a sanitize_callback, which cleans a value, and a validate_callback, which decides whether it is acceptable. In the example above, the VAT number is cleaned first and then checked. Returning a WP_Error from the validation callback blocks the order and shows your message to the customer, which is the pattern used in community examples of this API.
Keep your rules simple and your messages friendly. “Please enter a valid VAT number” is better than a technical error. For real VAT checking, use an official lookup service instead of a pattern. Also remember that a validation rule that is too strict can stop a real customer from paying.
Step 3: Read the saved values
After an order is placed, WooCommerce stores each field with the order. The documented way to read the values is the CheckoutFields service, which has get_field_from_object() for one field and get_all_fields_from_object() for every field in a group. This helper gathers everything we registered:
function wcn_get_checkout_field_values( $order ) {

    if ( ! class_exists( '\Automattic\WooCommerce\Blocks\Package' ) ) {
        return array();
    }

    $checkout_fields = \Automattic\WooCommerce\Blocks\Package::container()
        ->get( \Automattic\WooCommerce\Blocks\Domain\Services\CheckoutFields::class );

    return array(
        // Contact and order fields live in the "other" group.
        'other'    => $checkout_fields->get_all_fields_from_object( $order, 'other' ),
        'billing'  => $checkout_fields->get_all_fields_from_object( $order, 'billing' ),
        'shipping' => $checkout_fields->get_all_fields_from_object( $order, 'shipping' ),
    );
}
The class is documented in the WooCommerce code reference. While you are testing, log the result of this function once (error_log( print_r( $values, true ) );) so you can see exactly how your version returns the data, including how a checkbox value looks.
Step 4: Send the values to your CRM
Do not call your CRM while the customer is paying. Wait until the order reaches a paid status, queue a background job with Action Scheduler (included with WooCommerce), and send the data from there. This example posts a signed JSON message to a webhook URL, which can be your CRM, Zapier, Make, n8n, or your own endpoint. First add the settings to wp-config.php:
define( 'WCN_CRM_WEBHOOK_URL', 'https://your-crm-or-automation-endpoint.example/hook' );
define( 'WCN_CRM_WEBHOOK_SECRET', 'a-long-random-string' );
Then queue the job when the order is paid:
add_action( 'woocommerce_order_status_processing', 'wcn_queue_checkout_fields', 10, 2 );
add_action( 'woocommerce_order_status_completed', 'wcn_queue_checkout_fields', 10, 2 );

function wcn_queue_checkout_fields( $order_id, $order = null ) {

    $order = $order ? $order : wc_get_order( $order_id );

    // Already sent for this order.
    if ( ! $order || $order->get_meta( '_wcn_fields_sent' ) ) {
        return;
    }

    if ( function_exists( 'as_enqueue_async_action' ) ) {
        as_enqueue_async_action( 'wcn_send_checkout_fields', array( $order->get_id(), 1 ), 'wcn-checkout', true );
    }
}
And the job that sends it:
add_action( 'wcn_send_checkout_fields', 'wcn_send_checkout_fields', 10, 2 );

function wcn_send_checkout_fields( $order_id, $attempt = 1 ) {

    if ( ! defined( 'WCN_CRM_WEBHOOK_URL' ) ) {
        return;
    }

    $order = wc_get_order( $order_id );

    if ( ! $order || $order->get_meta( '_wcn_fields_sent' ) ) {
        return;
    }

    $fields = wcn_get_checkout_field_values( $order );

    $other   = isset( $fields['other'] ) ? $fields['other'] : array();
    $billing = isset( $fields['billing'] ) ? $fields['billing'] : array();

    $payload = array(
        'event'             => 'checkout_fields',
        'order_id'          => $order->get_id(),
        'email'             => $order->get_billing_email(),
        'first_name'        => $order->get_billing_first_name(),
        'last_name'         => $order->get_billing_last_name(),
        'lead_source'       => isset( $other['wcn/lead-source'] ) ? $other['wcn/lead-source'] : '',
        'marketing_consent' => ! empty( $other['wcn/marketing-consent'] ),
        'vat_number'        => isset( $billing['wcn/vat-number'] ) ? $billing['wcn/vat-number'] : '',
    );

    $body    = wp_json_encode( $payload );
    $headers = array( 'Content-Type' => 'application/json' );

    if ( defined( 'WCN_CRM_WEBHOOK_SECRET' ) ) {
        $headers['X-WCN-Signature'] = hash_hmac( 'sha256', $body, WCN_CRM_WEBHOOK_SECRET );
    }

    $response = wp_remote_post( WCN_CRM_WEBHOOK_URL, array(
        'timeout' => 15,
        'headers' => $headers,
        'body'    => $body,
    ) );

    $code = is_wp_error( $response ) ? 0 : (int) wp_remote_retrieve_response_code( $response );

    if ( $code >= 200 && $code < 300 ) {
        $order->update_meta_data( '_wcn_fields_sent', 1 );
        $order->save();
        $order->add_order_note( 'Checkout fields sent to the CRM.' );
        return;
    }

    if ( $attempt < 3 ) {
        as_schedule_single_action(
            time() + ( 10 * MINUTE_IN_SECONDS * $attempt ),
            'wcn_send_checkout_fields',
            array( $order_id, $attempt + 1 ),
            'wcn-checkout'
        );
    } else {
        $order->add_order_note( 'Sending checkout fields to the CRM failed after three attempts.' );
    }
}
Why it is built this way
- It works for both paid statuses. Virtual orders can jump straight to Completed, so we listen to both.
- It runs once. The order meta and the unique job flag prevent duplicate sends.
- It never slows checkout. The webhook is called in a background job.
- It is signed. The receiver can recompute the HMAC with the shared secret to confirm the message is genuine.
- It leaves a trail. Every outcome is written to the order notes, so your team can see what happened.
Step 5: Map the fields to your CRM
The values only help if the CRM has somewhere to put them. Create a custom property for each one first, then map the webhook values to it in your CRM or automation tool.
| Checkout field | Webhook key | Suggested CRM property |
|---|---|---|
| How did you hear about us? | lead_source | Lead source (dropdown or text) |
| VAT number | vat_number | VAT number (text) |
| Send me news and offers | marketing_consent | Marketing consent (yes or no) |
If you would rather not wire this up yourself, our WooCommerce CRM connectors send order and customer data to your CRM without custom code. To understand the delivery side in more detail, see our guide to sending WooCommerce order data to a webhook.
Consent and privacy
- Never pre-tick a consent box. The example leaves the marketing checkbox unticked, so the customer has to opt in.
- Record what the customer agreed to. The value is only meaningful if you store the date and the wording that was shown.
- Collect only what you need. Each extra field is more personal data to protect and to explain in your privacy policy.
- Respect withdrawal. If a customer later opts out, update the CRM so they are not emailed. This guide is not legal advice, so check the rules for your region.
Optional: show a field only when it is needed
You can make a field appear only for certain shipping methods, cart contents, or countries. That keeps the checkout short for most customers. WooCommerce documents this in its tutorial on conditionally visible additional checkout fields. For a broader walkthrough of the API, see the official guide to adding fields to the checkout block.
Test everything
- Open your checkout page and confirm that it uses the Checkout block. The new fields should appear in the right sections.
- Place an order without touching the optional fields. It should go through normally.
- Enter an invalid VAT number. Checkout should block the order and show your message.
- Place an order with all fields filled in and the marketing box ticked.
- Open the order. Check that the values were saved, and move it to Processing if it is not already.
- In WooCommerce → Status → Scheduled Actions, look for
wcn_send_checkout_fields. It should be complete. - Check the order notes for “Checkout fields sent to the CRM”, and look in your CRM for the data.
- Place a second order with the marketing box unticked. Confirm that the CRM gets
false.
Troubleshooting
| Problem | What to check |
|---|---|
| The fields do not show | The checkout page may use the old shortcode instead of the block. Also check that WooCommerce is version 8.9 or newer and that the code runs on woocommerce_init. |
| A field is missing or not saved | The ID must follow the namespace/field-name format. A required field with a validation error will stop the order. |
| Cannot place an order | A required field or a validation rule is blocking it. Loosen the rule and test again. |
| Values come back empty in the webhook | Log the result of wcn_get_checkout_field_values() and check which group holds each field (other, billing, or shipping). |
| Nothing reaches the CRM | Check Scheduled Actions for failed jobs, confirm the webhook URL, and make sure your host allows outgoing requests. |
| The checkbox is always false | Look at the raw value in your log. Different versions may store it differently, so adjust the check. |
What about the classic checkout?
This guide covers the block-based checkout. If your store still uses the shortcode checkout, the Additional Checkout Fields API does not apply, and you would use the older checkout fields filters instead. If you serve both, you need an implementation for each. Check which checkout your store actually uses before you build anything.
Related guides
- Show only free shipping when it applies with hiding other shipping methods when free shipping is available.
- Send customers order updates with WooCommerce WhatsApp order notifications.
- Catch billing problems early with failed subscription payment hooks.
- Keep records in one place by syncing WooCommerce orders with your CRM.
- Browse more copy-paste code in our free WooCommerce snippets library and the Hook and Filters WooCommerce Bundle.
Frequently asked questions
How do I add a custom field to the WooCommerce block checkout?
Call woocommerce_register_additional_checkout_field() on the woocommerce_init action, with an ID, a label, and a location of contact, address, or order. It requires WooCommerce 8.9 or newer.
Why does my old checkout fields code not work on the block checkout?
The block checkout is built differently from the shortcode checkout, so the woocommerce_checkout_fields filter does not apply to it. Use the Additional Checkout Fields API instead.
How do I validate a custom checkout field?
Pass a validate_callback when you register the field. Return a WP_Error to block the order with a message, and add a sanitize_callback to clean the value first.
How do I get the value of an additional checkout field from an order?
Use the CheckoutFields service. get_field_from_object() returns one field, and get_all_fields_from_object() returns all fields in a group, such as “other” for contact and order fields.
Where are custom checkout fields saved?
With the order, in groups: contact and order fields under “other”, and address fields under billing and shipping. Use the service instead of reading the raw meta, so your code keeps working if the storage details change.
Can I send custom checkout fields to a CRM?
Yes. Read the saved values when the order is paid, and send them from a background job to your CRM’s API or to a webhook. Create matching properties in the CRM first.
Can I show a field only to some customers?
Yes. WooCommerce supports conditional visibility based on the shipping method, cart contents, or the customer’s location. See the conditional fields tutorial linked above.
Wrap-up
The Checkout block needs a different approach, but the new API is cleaner than the old filters: you register a field, WooCommerce renders, saves, and validates it, and you read the values back with a documented service. Ask for only the fields that your team will use, validate them gently, and send them to your CRM from a background job. Test on staging, and confirm the saved values with your own eyes before you trust the data.