
Handling refund requests through email or support tickets gets messy fast — especially once you’re processing more than a handful of orders per week. Customers email support, support forwards to fulfillment, fulfillment checks the order in WooCommerce, and somewhere in that chain the original request gets lost or delayed.
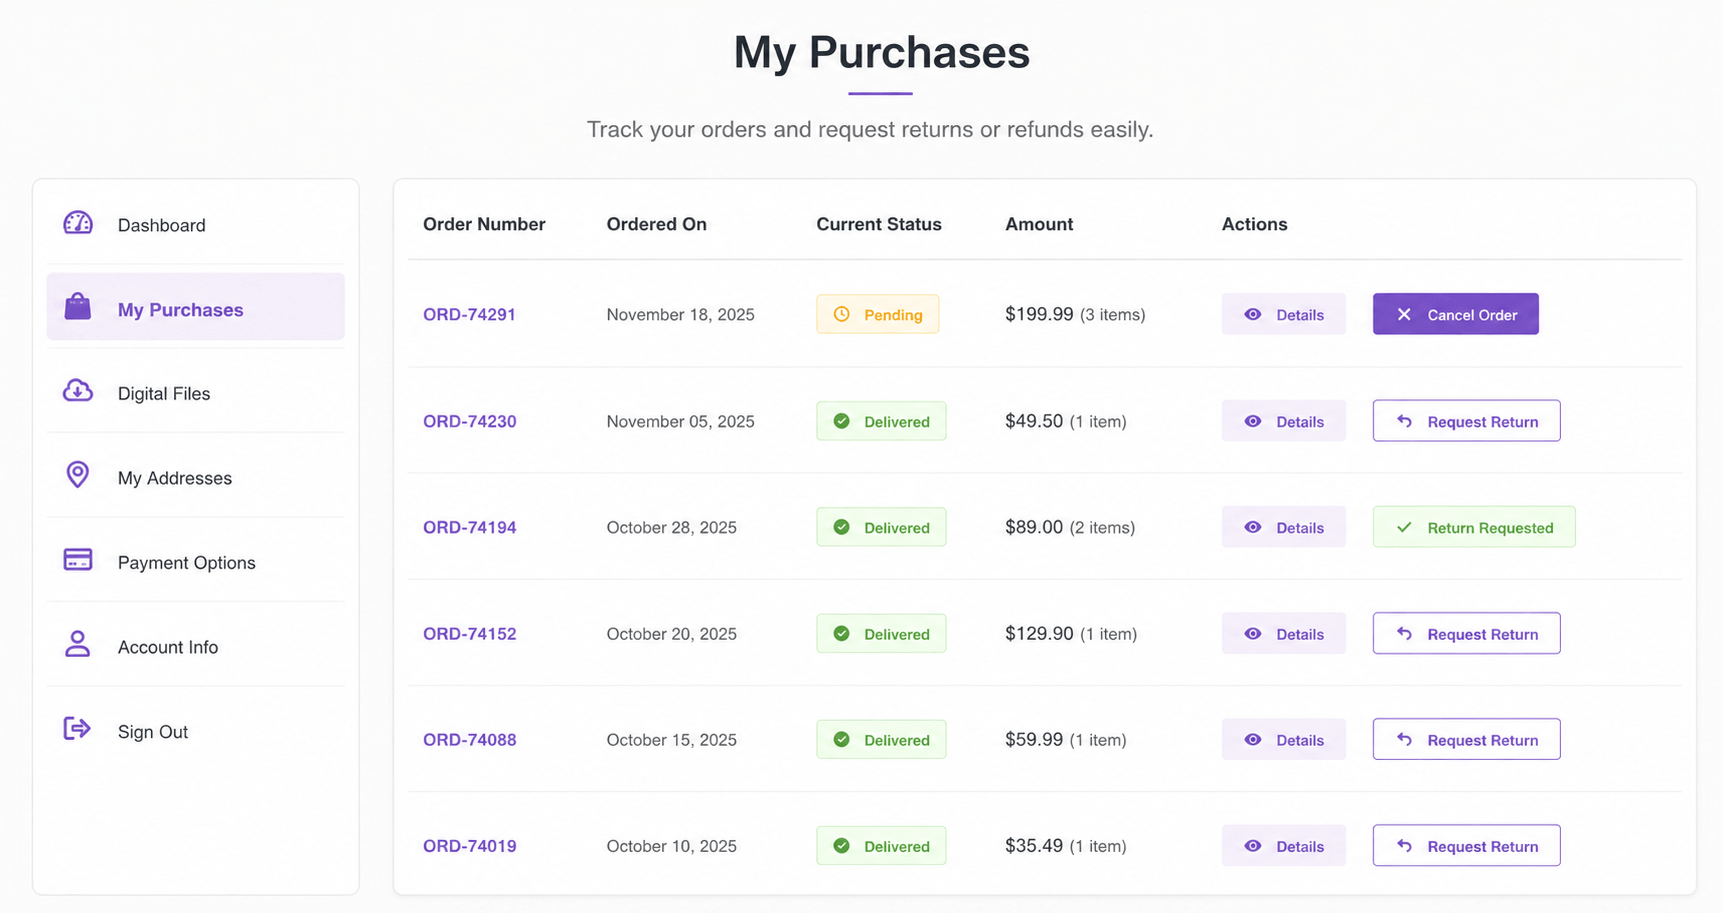
A cleaner approach: let customers request refunds directly from their My Account → Orders page. No plugin, no support ticket system — just a button, a reason field, and an automatic notification to your team.
This guide provides the complete, working code for this feature — including the AJAX handler that processes the request, which is the part most tutorials on this topic leave out or leave incomplete.
What This Snippet Does
- Adds a “Request Refund” button to eligible orders in My Account
- Restricts the button to processing or completed orders placed within the last 60 days
- Opens a popup modal where the customer enters a refund reason
- Submits the request via AJAX without reloading the page
- Saves the refund request as order metadata (
_custom_refund_request_sent) - Adds a customer note to the order timeline — visible in WooCommerce admin
- Sends an automatic email notification to the store admin
- Changes the button to a disabled “Refund Requested” state to prevent duplicate submissions
Step 1 — Add the Refund Request Button to My Account Orders
This filter adds a “Request Refund” action to eligible orders. The button only appears for processing or completed orders placed within the last 60 days, and switches to a disabled “Refund Requested” label if already submitted.
/**
 * Step 1: Add Refund Request Button to WooCommerce My Account Orders
 */
add_filter( 'woocommerce_my_account_my_orders_actions', 'wpcodex_refund_request_action', 10, 2 );
function wpcodex_refund_request_action( $actions, $order ) {

    if ( is_order_received_page() ) {
        return $actions;
    }

    $allowed_statuses = array( 'processing', 'completed' );

    if ( ! in_array( $order->get_status(), $allowed_statuses, true ) ) {
        return $actions;
    }

    // Already requested — show disabled state
    if ( $order->get_meta( '_custom_refund_request_sent' ) ) {
        $actions['refund-requested'] = array(
            'url'  => '#',
            'name' => 'Refund Requested',
        );
        return $actions;
    }

    // Limit to orders placed within the last 60 days
    $created_date = $order->get_date_created();
    if ( $created_date ) {
        $days_old = ( time() - $created_date->getTimestamp() ) / DAY_IN_SECONDS;
        if ( $days_old <= 60 ) {
            $actions['request-refund'] = array(
                'url'        => '#refund-order-' . $order->get_id(),
                'name'       => 'Request Refund',
                'aria-label' => 'Request Refund for Order',
            );
        }
    }

    return $actions;
}
Step 2 — Style the Disabled Refund Button
/**
 * Step 2: Style the disabled "Refund Requested" button
 */
add_action( 'wp_head', 'wpcodex_refund_button_styles' );
function wpcodex_refund_button_styles() {
    ?>
    <style>
        a.refund-requested {
            opacity: 0.5;
            pointer-events: none;
            cursor: not-allowed !important;
        }
    </style>
    <?php
}
Step 3 — Add the Refund Request Popup and JavaScript
This outputs a native HTML <dialog> modal and handles the full interaction — opening the modal, validating input, and sending the AJAX request.
/**
 * Step 3: Output the refund request popup and JavaScript
 */
add_action( 'woocommerce_after_account_orders', 'wpcodex_refund_popup' );
add_action( 'woocommerce_view_order', 'wpcodex_refund_popup' );
function wpcodex_refund_popup() {
    ?>
    <dialog id="custom-refund-popup">
        <form method="dialog" id="custom-refund-form">
            <h3>Submit Refund Request</h3>
            <input type="hidden" id="custom-order-id" value="">

            <label for="custom-refund-reason">Reason for Refund</label>
            <textarea id="custom-refund-reason" required style="width:100%;height:120px;"></textarea>

            <div style="margin-top:15px;">
                <button type="button" id="custom-refund-close">Cancel</button>
                <button type="button" id="custom-refund-send">Send Request</button>
            </div>

            <p id="custom-refund-status" style="margin-top:10px;"></p>
        </form>
    </dialog>

    <script>
    document.addEventListener('DOMContentLoaded', function () {

        document.querySelectorAll('a.request-refund').forEach(function (button) {
            button.addEventListener('click', function (event) {
                event.preventDefault();
                let orderID = this.getAttribute('href').replace('#refund-order-', '');
                document.getElementById('custom-order-id').value = orderID;
                document.getElementById('custom-refund-reason').value = '';
                document.getElementById('custom-refund-status').textContent = '';
                document.getElementById('custom-refund-popup').showModal();
            });
        });

        document.getElementById('custom-refund-close').addEventListener('click', function (e) {
            e.preventDefault();
            document.getElementById('custom-refund-popup').close();
        });

        document.getElementById('custom-refund-send').addEventListener('click', function (e) {
            e.preventDefault();

            let orderID = document.getElementById('custom-order-id').value;
            let reason = document.getElementById('custom-refund-reason').value;
            let statusEl = document.getElementById('custom-refund-status');

            if (!orderID || reason.trim() === '') {
                statusEl.textContent = 'Please enter a reason for your refund request.';
                return;
            }

            statusEl.textContent = 'Sending request...';

            fetch('<?php echo esc_url( admin_url( 'admin-ajax.php' ) ); ?>', {
                method: 'POST',
                headers: { 'Content-Type': 'application/x-www-form-urlencoded' },
                body: new URLSearchParams({
                    action: 'custom_submit_refund_request',
                    order_id: orderID,
                    refund_reason: reason,
                    security: '<?php echo esc_js( wp_create_nonce( "custom_refund_request_nonce" ) ); ?>'
                })
            })
            .then(response => response.json())
            .then(data => {
                if (data.success) {
                    statusEl.textContent = 'Refund request submitted successfully.';
                    setTimeout(function () {
                        document.getElementById('custom-refund-popup').close();
                        location.reload();
                    }, 1200);
                } else {
                    statusEl.textContent = data.data && data.data.message
                        ? data.data.message
                        : 'Something went wrong. Please try again.';
                }
            })
            .catch(function () {
                statusEl.textContent = 'Network error. Please try again.';
            });
        });
    });
    </script>
    <?php
}
Step 4 — The Missing Piece: The AJAX Handler (PHP)
This is the function that the original article omitted entirely. Without it, the form above has nothing to submit to — clicking “Send Request” does nothing. This handler verifies the request, saves the refund request to order metadata, adds an order note, and emails the admin.
/**
 * Step 4: Handle the refund request AJAX submission
 */
add_action( 'wp_ajax_custom_submit_refund_request', 'wpcodex_handle_refund_request' );
function wpcodex_handle_refund_request() {

    // Verify nonce for security
    check_ajax_referer( 'custom_refund_request_nonce', 'security' );

    if ( ! is_user_logged_in() ) {
        wp_send_json_error( array( 'message' => 'You must be logged in to request a refund.' ) );
    }

    $order_id = isset( $_POST['order_id'] ) ? absint( $_POST['order_id'] ) : 0;
    $reason   = isset( $_POST['refund_reason'] ) ? sanitize_textarea_field( $_POST['refund_reason'] ) : '';

    if ( ! $order_id || empty( $reason ) ) {
        wp_send_json_error( array( 'message' => 'Missing order ID or refund reason.' ) );
    }

    $order = wc_get_order( $order_id );

    if ( ! $order ) {
        wp_send_json_error( array( 'message' => 'Order not found.' ) );
    }

    // Verify the order belongs to the current customer
    if ( $order->get_customer_id() !== get_current_user_id() ) {
        wp_send_json_error( array( 'message' => 'You do not have permission to request a refund for this order.' ) );
    }

    // Prevent duplicate requests
    if ( $order->get_meta( '_custom_refund_request_sent' ) ) {
        wp_send_json_error( array( 'message' => 'A refund request has already been submitted for this order.' ) );
    }

    // Save the refund request as order metadata
    $order->update_meta_data( '_custom_refund_request_sent', 'yes' );
    $order->update_meta_data( '_custom_refund_request_reason', $reason );
    $order->save();

    // Add a note to the order timeline (visible in WooCommerce admin)
    $order->add_order_note(
        sprintf(
            'Customer submitted a refund request. Reason: %s',
            $reason
        ),
        false // false = private note, not visible to customer
    );

    // Notify the store admin via email
    $admin_email = get_option( 'admin_email' );
    $subject     = sprintf( 'Refund Request — Order #%s', $order->get_order_number() );
    $message     = sprintf(
        "A customer has requested a refund for Order #%s.\n\nReason:\n%s\n\nView order: %s",
        $order->get_order_number(),
        $reason,
        admin_url( 'post.php?post=' . $order_id . '&action=edit' )
    );

    wp_mail( $admin_email, $subject, $message );

    wp_send_json_success( array( 'message' => 'Refund request submitted successfully.' ) );
}
Key security checks added in this handler:
check_ajax_referer()verifies the nonce, preventing CSRF attacksis_user_logged_in()ensures only authenticated customers can submit- Customer ID verification ensures customers can only request refunds for their own orders — a critical check missing from the original
absint()andsanitize_textarea_field()sanitize all input before use- Duplicate-submission check prevents the same order from generating multiple refund requests
Where to Add This Code
All four steps should be added together to your child theme’s functions.php file, or combined into a single custom plugin file. Using a code snippets plugin is recommended for easier management, version control, and the ability to disable the feature without editing theme files.
Before going live, test the full flow: place a test order, mark it as “Processing” or “Completed,” visit My Account → Orders, click “Request Refund,” submit a reason, and verify that the order note appears in WooCommerce admin and the admin notification email is received.
Frequently Asked Questions
Why doesn’t the refund button actually process refunds in WooCommerce?
This snippet creates a refund request workflow, not an automatic refund processor. It captures the customer’s request and reason, notifies your team, and logs it on the order — but the actual refund (returning funds via your payment gateway) is performed manually by your team in WooCommerce admin. This is intentional — automatic refund approval without review is rarely appropriate for most stores.
Can customers request a refund for any order?
No. The button only appears for orders with status processing or completed, placed within the last 60 days. You can adjust the 60-day window or allowed statuses in Step 1 to match your store’s refund policy.
What happens if a customer tries to submit a second refund request for the same order?
The AJAX handler checks for the _custom_refund_request_sent meta value and returns an error if a request already exists for that order — preventing duplicate submissions. The button also visually changes to a disabled “Refund Requested” state.
Is this secure? Can customers request refunds for other people’s orders?
The completed version above includes a critical check: $order->get_customer_id() !== get_current_user_id(). This ensures a customer can only submit a refund request for an order that belongs to their own account — even if they manually craft a request with a different order ID.
Where do I see the refund request once submitted?
The request is added as a private order note visible in WooCommerce Admin → Orders → [Order]. The store admin also receives an email notification with the order number and the customer’s stated reason.
Can I customize the admin notification email?
Yes. The wp_mail() call in Step 4 can be modified to use a custom email template, HTML formatting, or be redirected to a specific support inbox instead of the default WordPress admin email by changing get_option( 'admin_email' ) to a hardcoded address or a custom setting.
Want Refund Requests Synced to Your CRM?
This snippet handles refund requests within WooCommerce — logging them as order notes and emailing your admin. If your support team works primarily in a CRM rather than the WooCommerce admin, WooCRM Connector can sync order status changes, customer notes, and support events to Zoho CRM, HubSpot, or Salesforce automatically — keeping your sales and support teams working from the same customer record.
More free WooCommerce snippets from WooCRM: WooCommerce Automatically Log Out Customers After Checkout · 10 WooCommerce Speed Optimization Snippets · Browse All Snippets →
/**
 * Add Refund Request Button in WooCommerce My Account Orders
 */

add_filter( 'woocommerce_my_account_my_orders_actions', 'custom_wc_refund_request_action', 10, 2 );

function custom_wc_refund_request_action( $actions, $order ) {

    if ( is_order_received_page() ) {
        return $actions;
    }

    $allowed_statuses = array( 'processing', 'completed' );

    if ( in_array( $order->get_status(), $allowed_statuses, true ) ) {

        $already_requested = $order->get_meta( '_custom_refund_request_sent' );

        if ( $already_requested ) {

            $actions['refund-requested'] = array(
                'url'  => '#',
                'name' => 'Refund Requested',
            );

            return $actions;
        }

        $created_date = $order->get_date_created();

        if ( $created_date ) {

            $days_old = ( time() - $created_date->getTimestamp() ) / DAY_IN_SECONDS;

            if ( $days_old <= 60 ) {

                $actions['request-refund'] = array(
                    'url'        => '#refund-order-' . $order->get_id(),
                    'name'       => 'Request Refund',
                    'aria-label' => 'Request Refund',
                );
            }
        }
    }

    return $actions;
}
2. Style the Disabled Refund Button
This optional CSS visually disables the button after a refund request has already been submitted.
add_action( 'wp_head', 'custom_wc_refund_button_styles' );

function custom_wc_refund_button_styles() {
    ?>
    <style>
        a.refund-requested {
            opacity: 0.5;
            pointer-events: none;
            cursor: not-allowed !important;
        }
    </style>
    <?php
}
3. Create Refund Request Popup Modal
This section outputs a native HTML dialog popup and handles customer interaction using JavaScript.
add_action( 'woocommerce_after_account_orders', 'custom_wc_refund_popup' );
add_action( 'woocommerce_view_order', 'custom_wc_refund_popup' );

function custom_wc_refund_popup() {
    ?>

    <dialog id="custom-refund-popup">

        <form method="dialog" id="custom-refund-form">

            <h3>Submit Refund Request</h3>

            <input type="hidden" id="custom-order-id" value="">

            <label for="custom-refund-reason">
                Reason for Refund
            </label>

            <textarea id="custom-refund-reason" required style="width:100%;height:120px;"></textarea>

            <div style="margin-top:15px;">
                <button id="custom-refund-close">Cancel</button>
                <button id="custom-refund-send">Send Request</button>
            </div>

        </form>

    </dialog>

    <script>

    document.querySelectorAll('a.request-refund').forEach(function(button){

        button.addEventListener('click', function(event){

            event.preventDefault();

            let orderID = this.getAttribute('href').replace('#refund-order-', '');

            document.getElementById('custom-order-id').value = orderID;

            document.getElementById('custom-refund-reason').value = '';

            document.getElementById('custom-refund-popup').showModal();
        });

    });

    document.getElementById('custom-refund-close').addEventListener('click', function(e){

        e.preventDefault();

        document.getElementById('custom-refund-popup').close();

    });

    document.getElementById('custom-refund-send').addEventListener('click', function(e){

        e.preventDefault();

        let orderID = document.getElementById('custom-order-id').value;

        let reason = document.getElementById('custom-refund-reason').value;

        if ( !orderID || reason.trim() === '' ) {
            return;
        }

        fetch('<?php echo admin_url( 'admin-ajax.php' ); ?>', {

            method: 'POST',

            headers: {
                'Content-Type': 'application/x-www-form-urlencoded'
            },

            body: new URLSearchParams({

                action: 'custom_submit_refund_request',

                order_id: orderID,

                refund_reason: reason,

                security: '<?php echo wp_create_nonce( 'custom_refund_nonce' ); ?>'

            })

        })

        .then(response => response.json())

        .then(data => {

            document.getElementById('custom-refund-popup').close();

            if ( data.success ) {

                alert('Refund request submitted successfully.');

                location.reload();

            } else {

                alert(data.message || 'Something went wrong.');

            }

        });

    });

    </script>

    <?php
}
4. Handle Refund Request Submission with AJAX
This final section processes the request, saves order metadata, creates a customer order note, and emails the store admin.
add_action( 'wp_ajax_custom_submit_refund_request', 'custom_submit_refund_request' );
add_action( 'wp_ajax_nopriv_custom_submit_refund_request', 'custom_submit_refund_request' );

function custom_submit_refund_request() {

    if (
        empty( $_POST['security'] ) ||
        ! wp_verify_nonce( $_POST['security'], 'custom_refund_nonce' )
    ) {
        wp_send_json_error( array(
            'message' => 'Security validation failed.'
        ) );
    }

    if (
        empty( $_POST['order_id'] ) ||
        empty( $_POST['refund_reason'] )
    ) {
        wp_send_json_error( array(
            'message' => 'Required fields are missing.'
        ) );
    }

    $order_id = absint( $_POST['order_id'] );

    $refund_reason = sanitize_textarea_field( $_POST['refund_reason'] );

    $order = wc_get_order( $order_id );

    if ( ! $order ) {

        wp_send_json_error( array(
            'message' => 'Invalid order.'
        ) );
    }

    $order->update_meta_data(
        '_custom_refund_request_date',
        current_time( 'mysql' )
    );

    $order->update_meta_data(
        '_custom_refund_request_reason',
        $refund_reason
    );

    $order->update_meta_data(
        '_custom_refund_request_sent',
        'yes'
    );

    $order->save();

    $order->add_order_note(
        'Customer submitted a refund request: ' . $refund_reason,
        true
    );

    wp_mail(

        get_option( 'admin_email' ),

        'New Refund Request for Order #' . $order_id,

        "A customer submitted a refund request.\n\n" .
        "Order ID: #" . $order_id . "\n\n" .
        "Refund Reason:\n" . $refund_reason . "\n\n" .
        "Manage Order:\n" .
        admin_url( 'post.php?post=' . $order_id . '&action=edit' )

    );

    wp_send_json_success( array(
        'message' => 'Refund request submitted.'
    ) );
}
Where Should You Add This Code?
Add the PHP snippets to your child theme’s functions.php file or use a custom snippets plugin. CSS can be added inside your child theme stylesheet if preferred.
Before testing, temporarily switch to a default WooCommerce theme like Storefront and disable unrelated plugins to rule out possible conflicts.
Explore More Blogs : WooCommerce Automatically Log Out Customers After Checkout